Did you know that every washing machine has a filter that collects dirt and lint from your clothes? If you don’t clean it regularly, all that gunk can end up back on your clothes, leaving stains and making fabrics stick together. Yikes! But don’t worry—cleaning your washer’s filter is easy, and it can save you from headaches later.
How to Remove and Clean Your Washing Machine’s Lint Filter:
The location and design of the filter depend on the model of your washing machine. For front-loaders, you’ll usually find the lint filter on the outside, making it easy to spot and clean. For top-loaders, it’s typically inside the drum. Here’s how to tackle it:
Step-by-Step Guide:
- Find the Bottom Cover: Washing machine drums often have a removable bottom panel with a small plastic cover.
- Remove the Plastic Cover: Gently pry up the plastic cover to expose the filter.
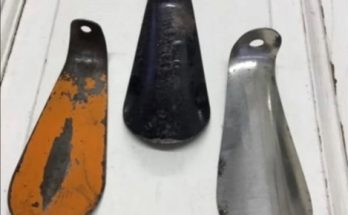
- Unscrew the Filter: You’ll see a screw in the center—use a screwdriver to remove it.
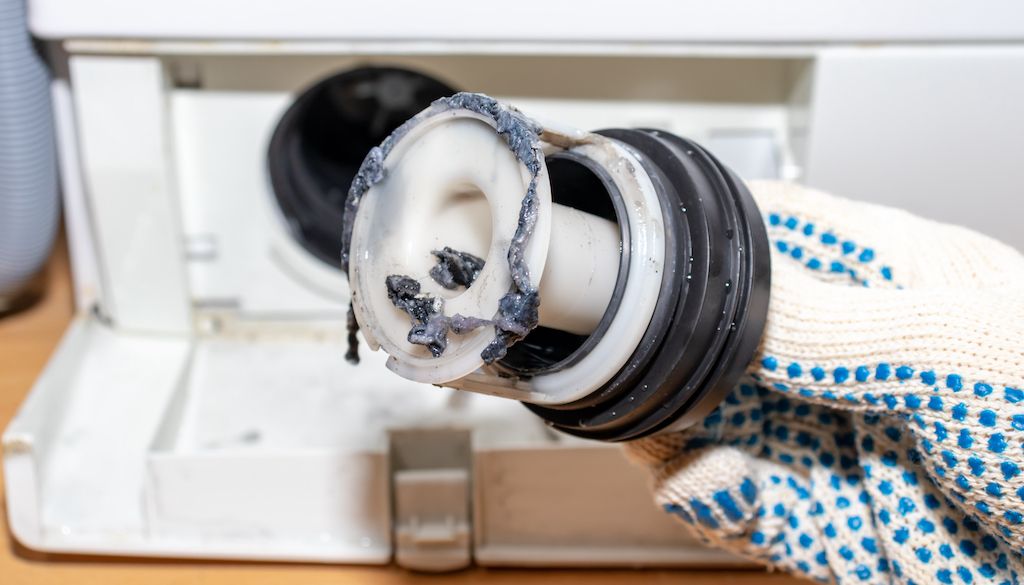
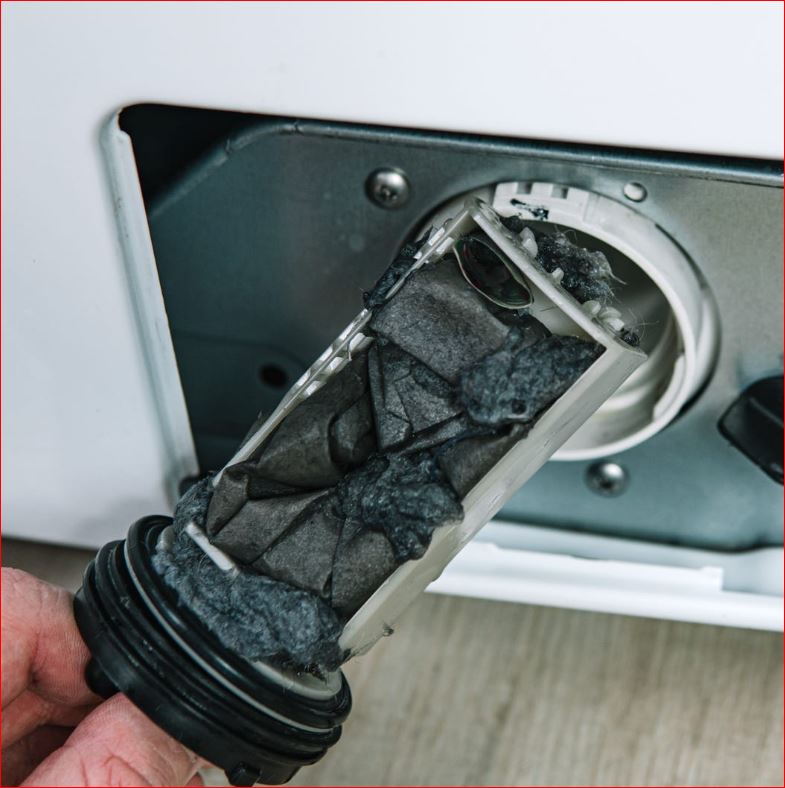
- Lift the Bottom Panel: After removing the screw, lift the bottom to access the filter. Dump out the dirt and lint.
- Clean the Filter: Use a brush to scrub away any remaining debris. For the inner drum, wipe it clean with a cloth.
- Reassemble: Once everything is cleaned, just reassemble it the way it was before.
How Often to Clean Your Filter:
It’s best to clean the filter once a month to keep your washing machine in top shape and your clothes smelling fresh. Regular cleaning not only helps maintain your washer but can also prevent bacteria buildup, ensuring your clothes come out cleaner and fresher.
Bonus Tip: Occasionally, run your washing machine with a cycle of white vinegar and a light spin to keep it even fresher.
Don’t Forget the Filter!
Removing and cleaning the filter is a step many people overlook—especially in homes without men, where this task might get forgotten. So, keep your washer clean, and your clothes will thank you! Clean filters = fresh clothes.